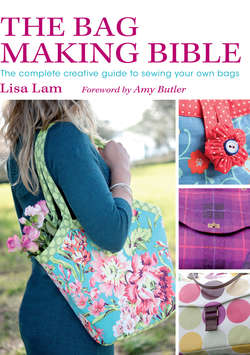
Читать книгу The Bag Making Bible - Lisa Lam - Страница 9
На сайте Литреса книга снята с продажи.
Оглавление1: Getting Started
If you’re anything like me you’re probably keen to get stuck in with the scissors and sewing machine, and might be too impatient to read through this chapter. I totally understand, but even a quick read through the basics explained here could make all the difference between a bag that you will love and a bag that will end up at the back of a cupboard. This chapter runs through how to use the patterns in the book, giving advice on reading patterns and understanding sewing instructions, with some helpful fabric preparation and cutting tips. Then at the end of this chapter you’ll find information on how you can modify the size of bag patterns, which is one of the first steps to making bags the way you want them.
Using Patterns
The patterns, found at the back of the book, are all full-size, which means there is no need to hunt around the neighbourhood for a photocopier. Some of the bag projects have two or more pattern pieces (which are indicated on the pattern pieces), others have just one pattern piece and some projects simply use rectangles given as measurements within the project instructions.
1 Get a large sheet of suitable paper. I usually use pale tissue paper, but you can also use tracing paper, greaseproof paper or dressmaking paper. Iron the paper and the pattern sheet on a low setting.
2 Lay the paper over your chosen pattern piece and, using pins or sticky tape, secure the paper to the pattern so that it can’t move around.
3 Take a soft leaded pencil (you don’t want to rip holes in your paper with a hard pencil) and trace around your pattern shape. Also trace the various pattern markings, notches and darts if appropriate (see Understanding Patterns). See Fig a.
Fig a Use a soft leaded pencil to trace the patterns and pattern markings to get nice easy-to-see outlines, and you’ll avoid ripping the tracing paper.
4 Lay out your traced pattern pieces onto your fabric. Align your pattern with the fabric’s straight grain (see grain lines). If the pattern piece instructs you to place it on a fold, fold your fabric as shown in Fig b. Pay attention to the direction of your pattern – are the pattern pieces the right way up? Accordingly, is the pattern on your fabric also the right way up?
5 Pin your pattern pieces to your fabric and cut the fabric around the pattern shapes. See Fig c. Alternatively, you can pin your patterns to your fabric and then trace around the outline of your pattern pieces with disappearing marker or chalk to get an outline for fabric cutting. However, before you do any cutting, make sure you refer to Fabric Cutting Tips.
6 Transfer any pattern markings, notches or darts from the pattern piece to your fabric pieces using chalk or disappearing marker. See Fig d.
Fig b To place a pattern piece on a fold, fold the fabric wrong sides together and position the fold line of the pattern onto the folded edge of the fabric.
Fig c I prefer to pin and cut around the pattern pieces because it’s faster than tracing around the pattern and then cutting.
Fig d While the pattern is still pinned to the fabric, transfer the various pattern markings onto the fabric.
Label snob …
Label your pattern pieces before and after using them; fold them carefully, and store in an envelope. Also store in the envelope any notes you make during bag construction, ready for next time.
